How to create an invoice
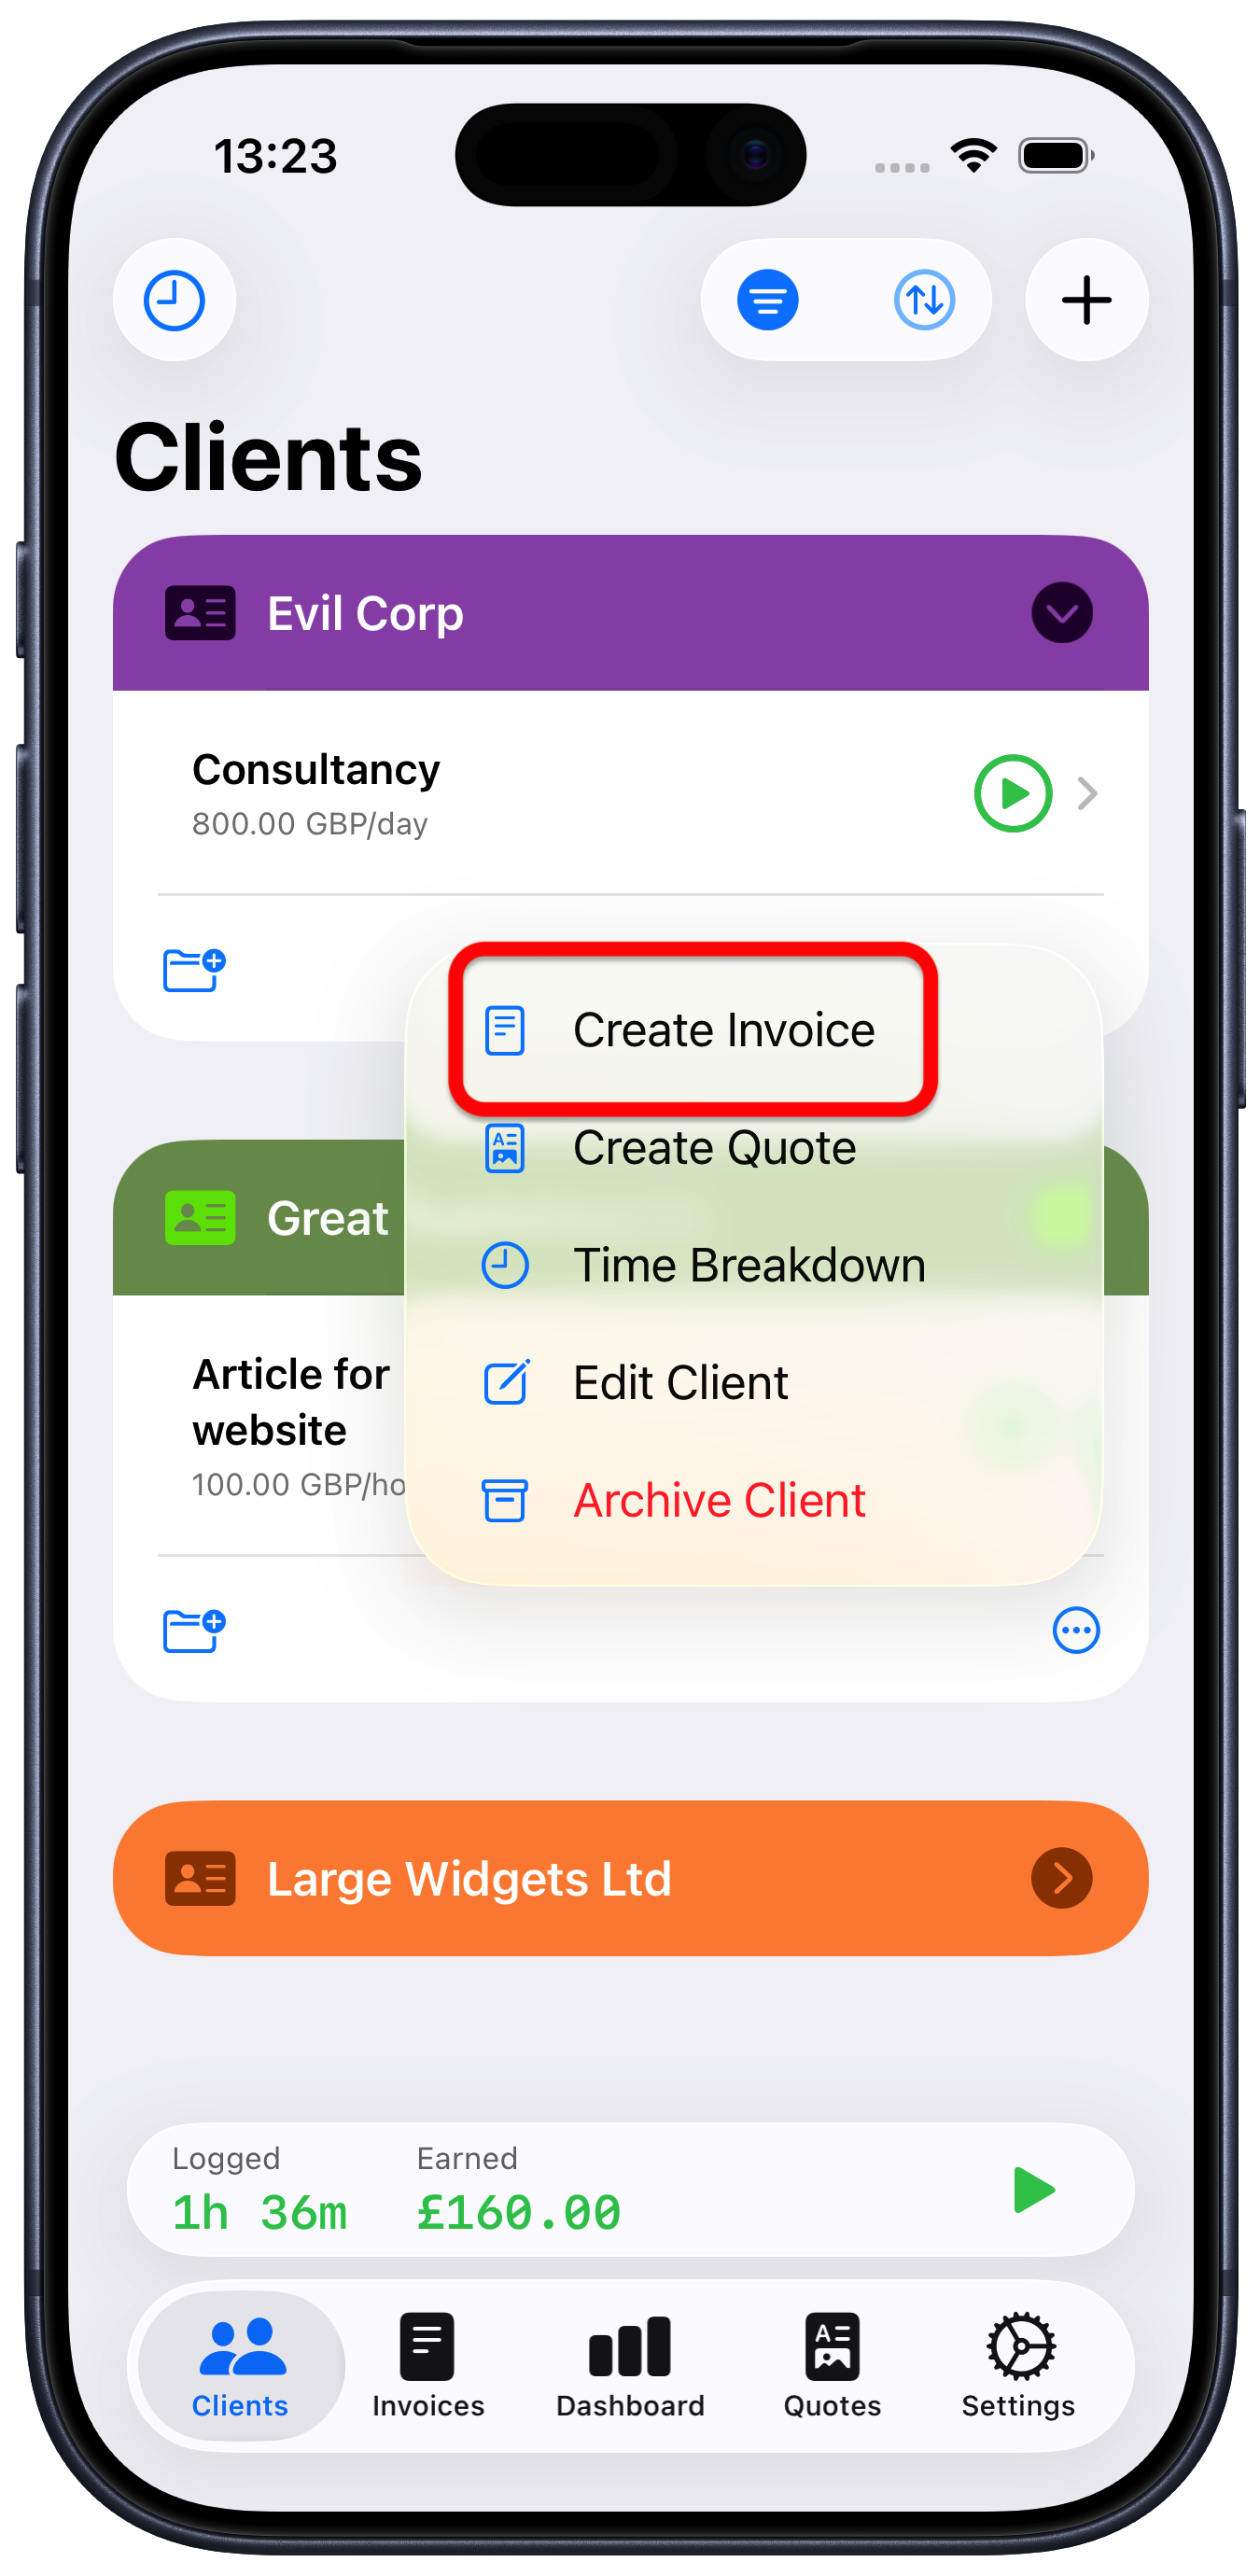
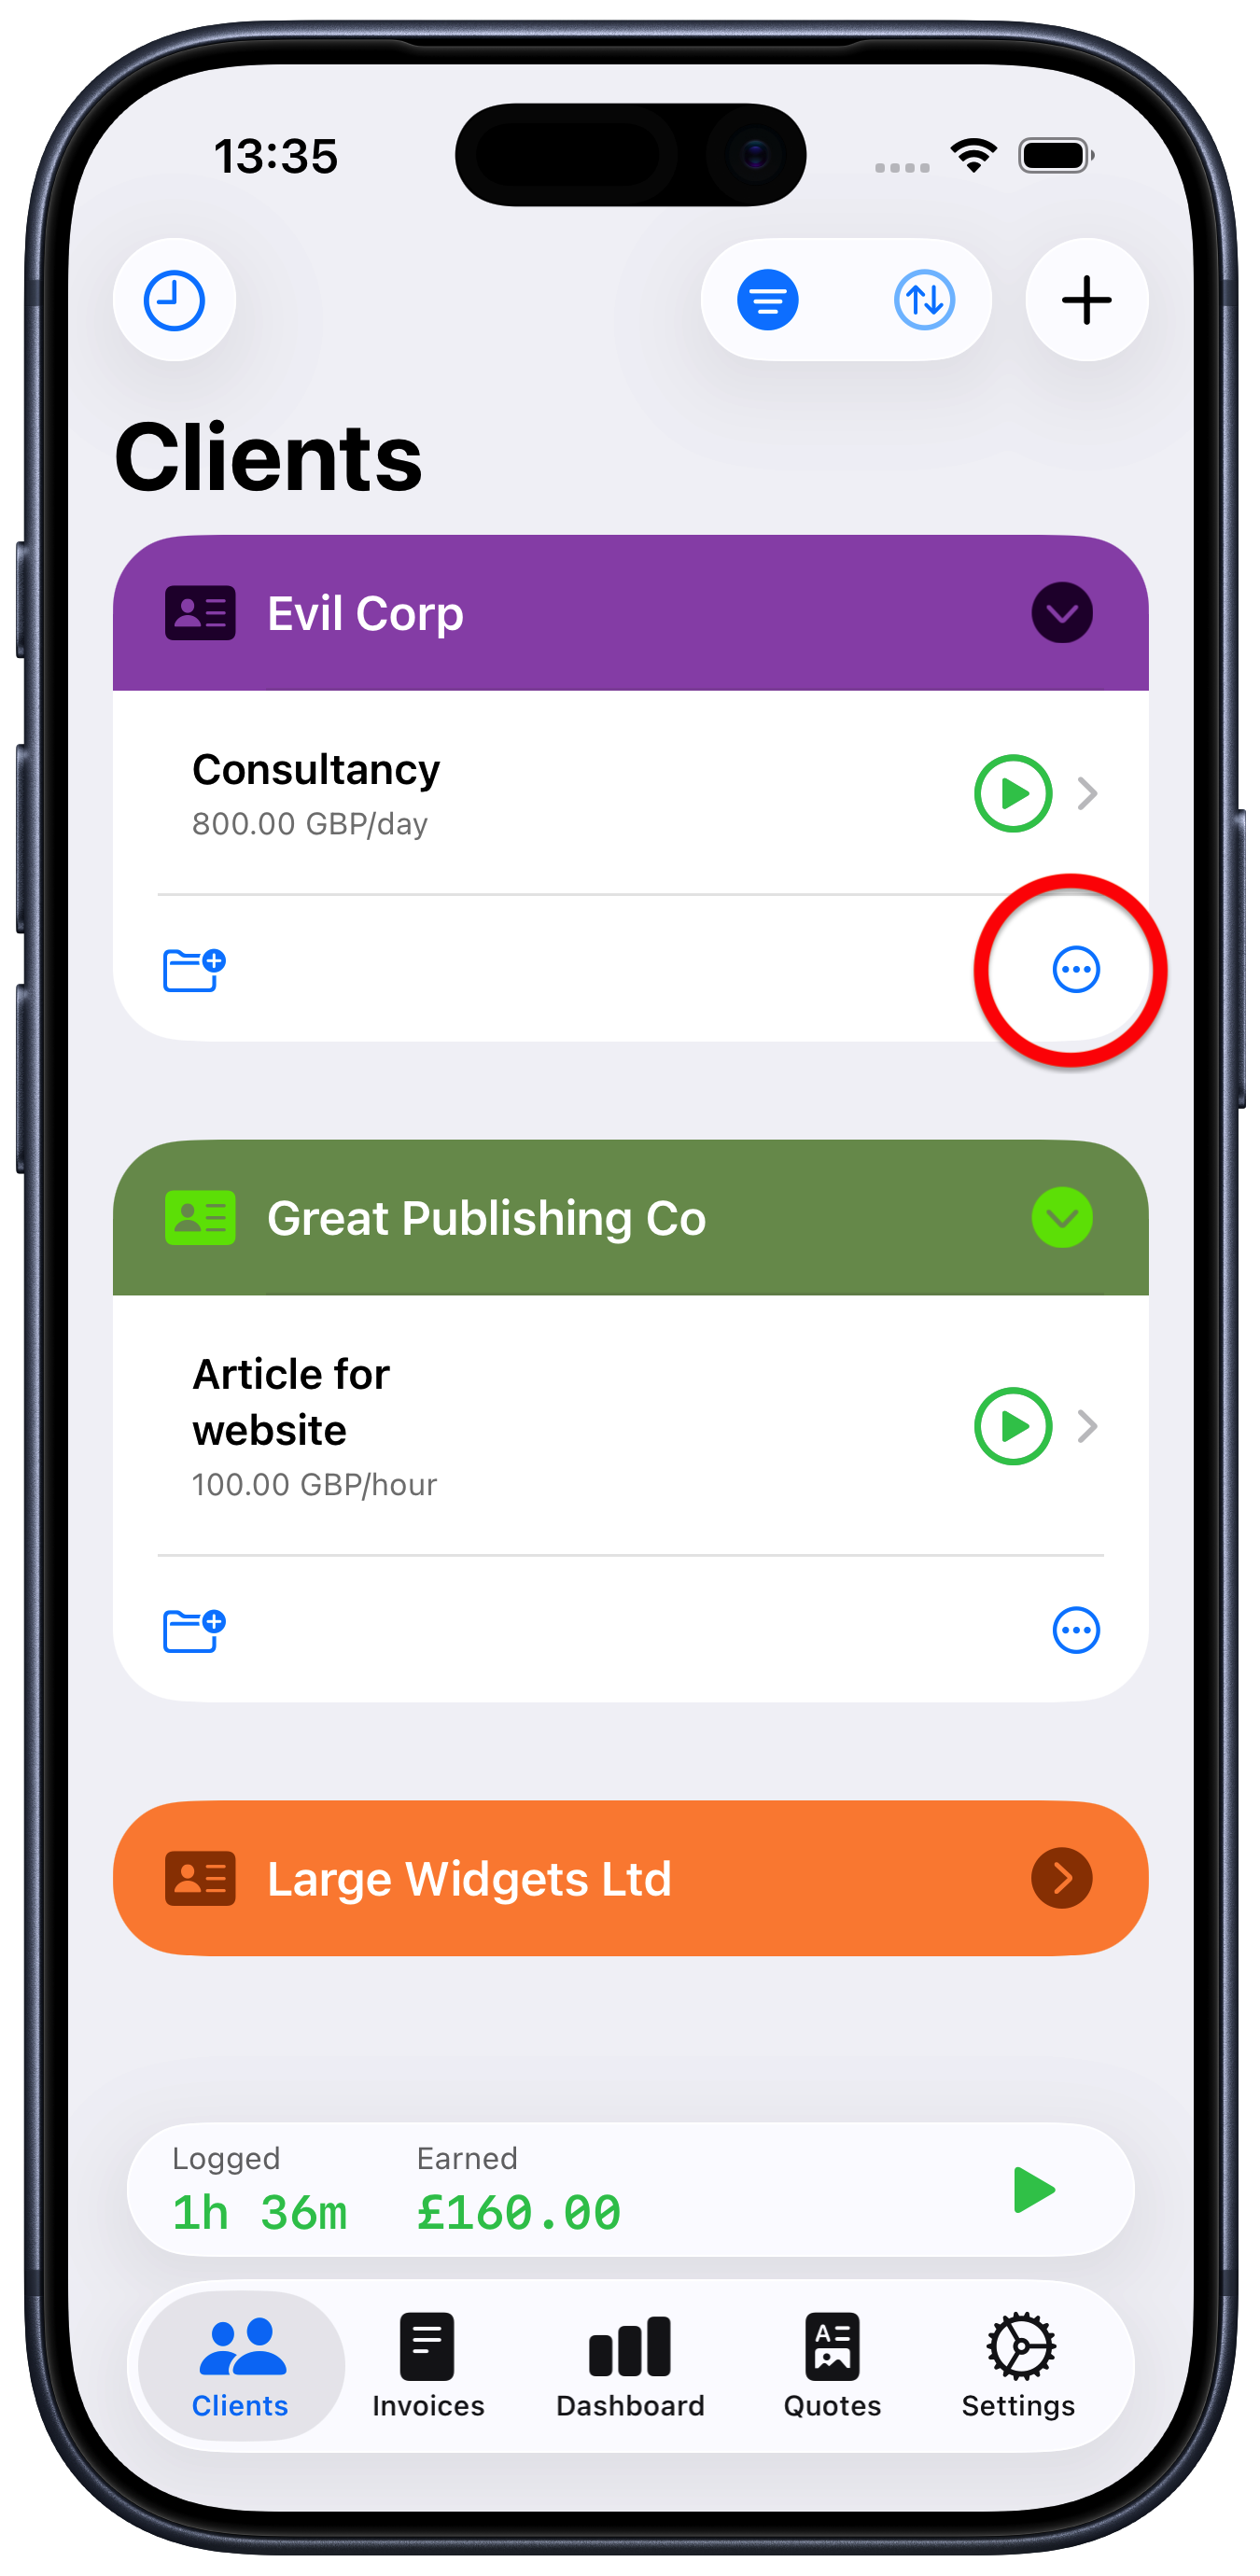
Next to client you want to create the invoice for, tap the ellipsis “…” button
Choose “Create invoice”
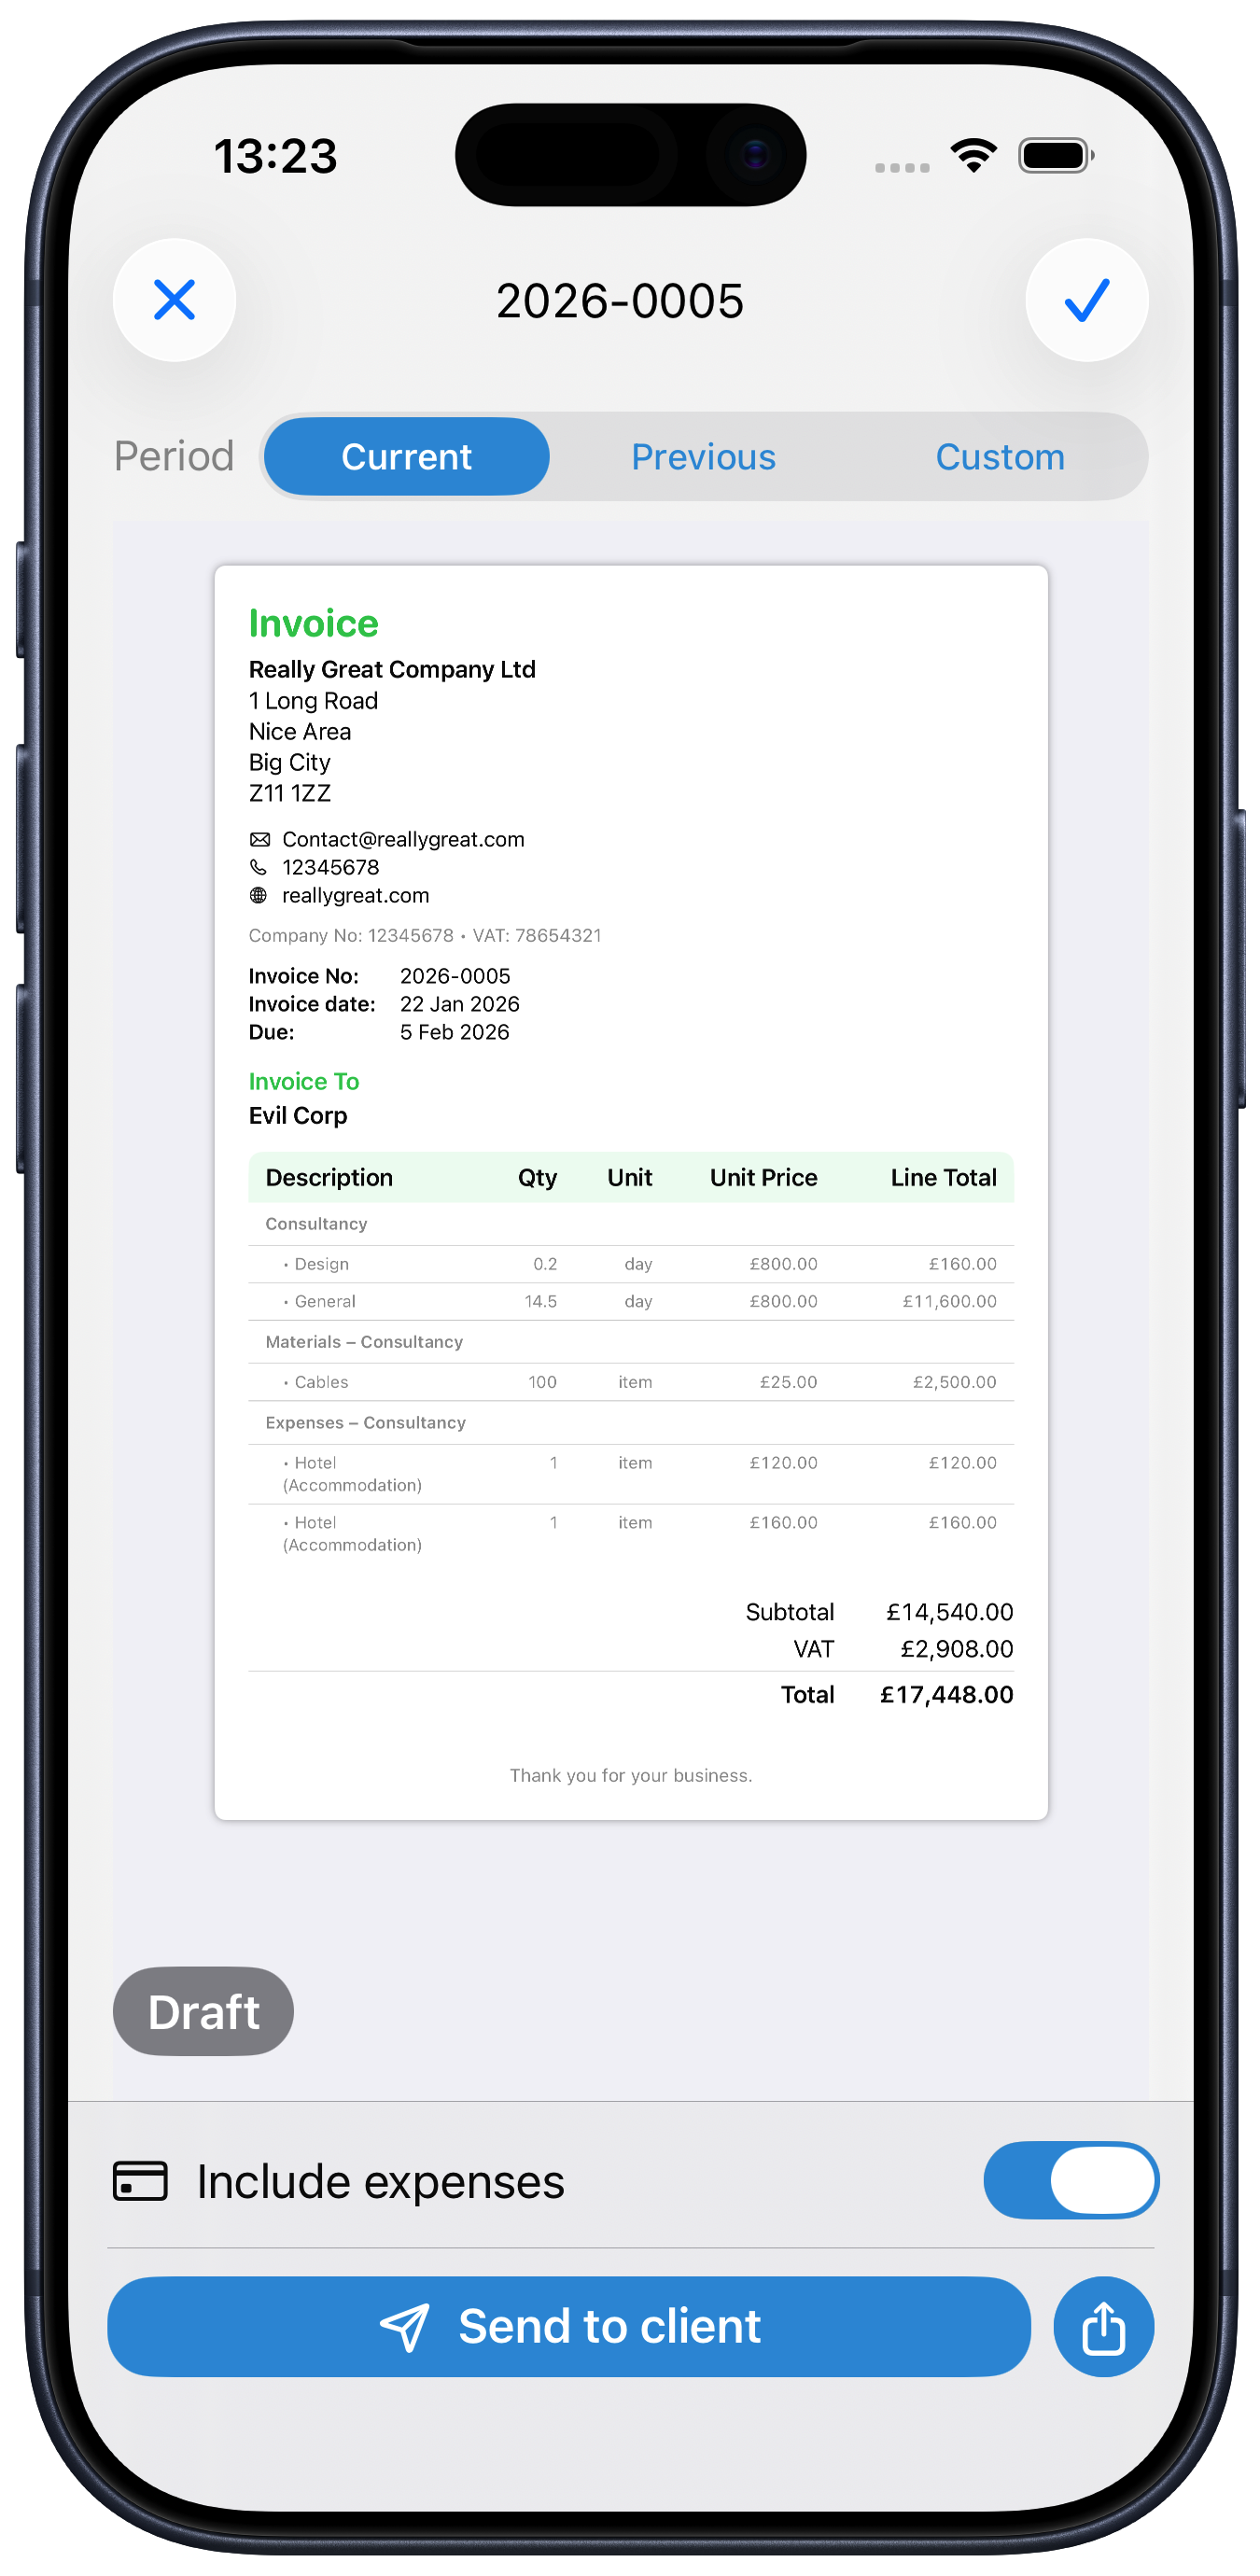
You will then get a preview of the invoice. Check it over and make sure it is as expected, then you can email it straight to the client by tapping the “Send to client” button.
The invoice reference is shown at the top of the screen. You can change this by tapping on it and typing in a new reference.
The preview defaults to show the current period, that is from the start of the month to the current date. You can change this to show the previous period (i.e. last month) or create an invoice for a custom range using the “Period” selector just above the preview, for example, if you were invoicing for several months work in one go, you could set the start date to the start of the project.
You can also tap the share button at the bottom right of the screen to send via another method, or save a copy of the invoice somewhere on your device.
Note that on iPad or Mac a larger preview will show on the right, with the buttons on the left or the screen.
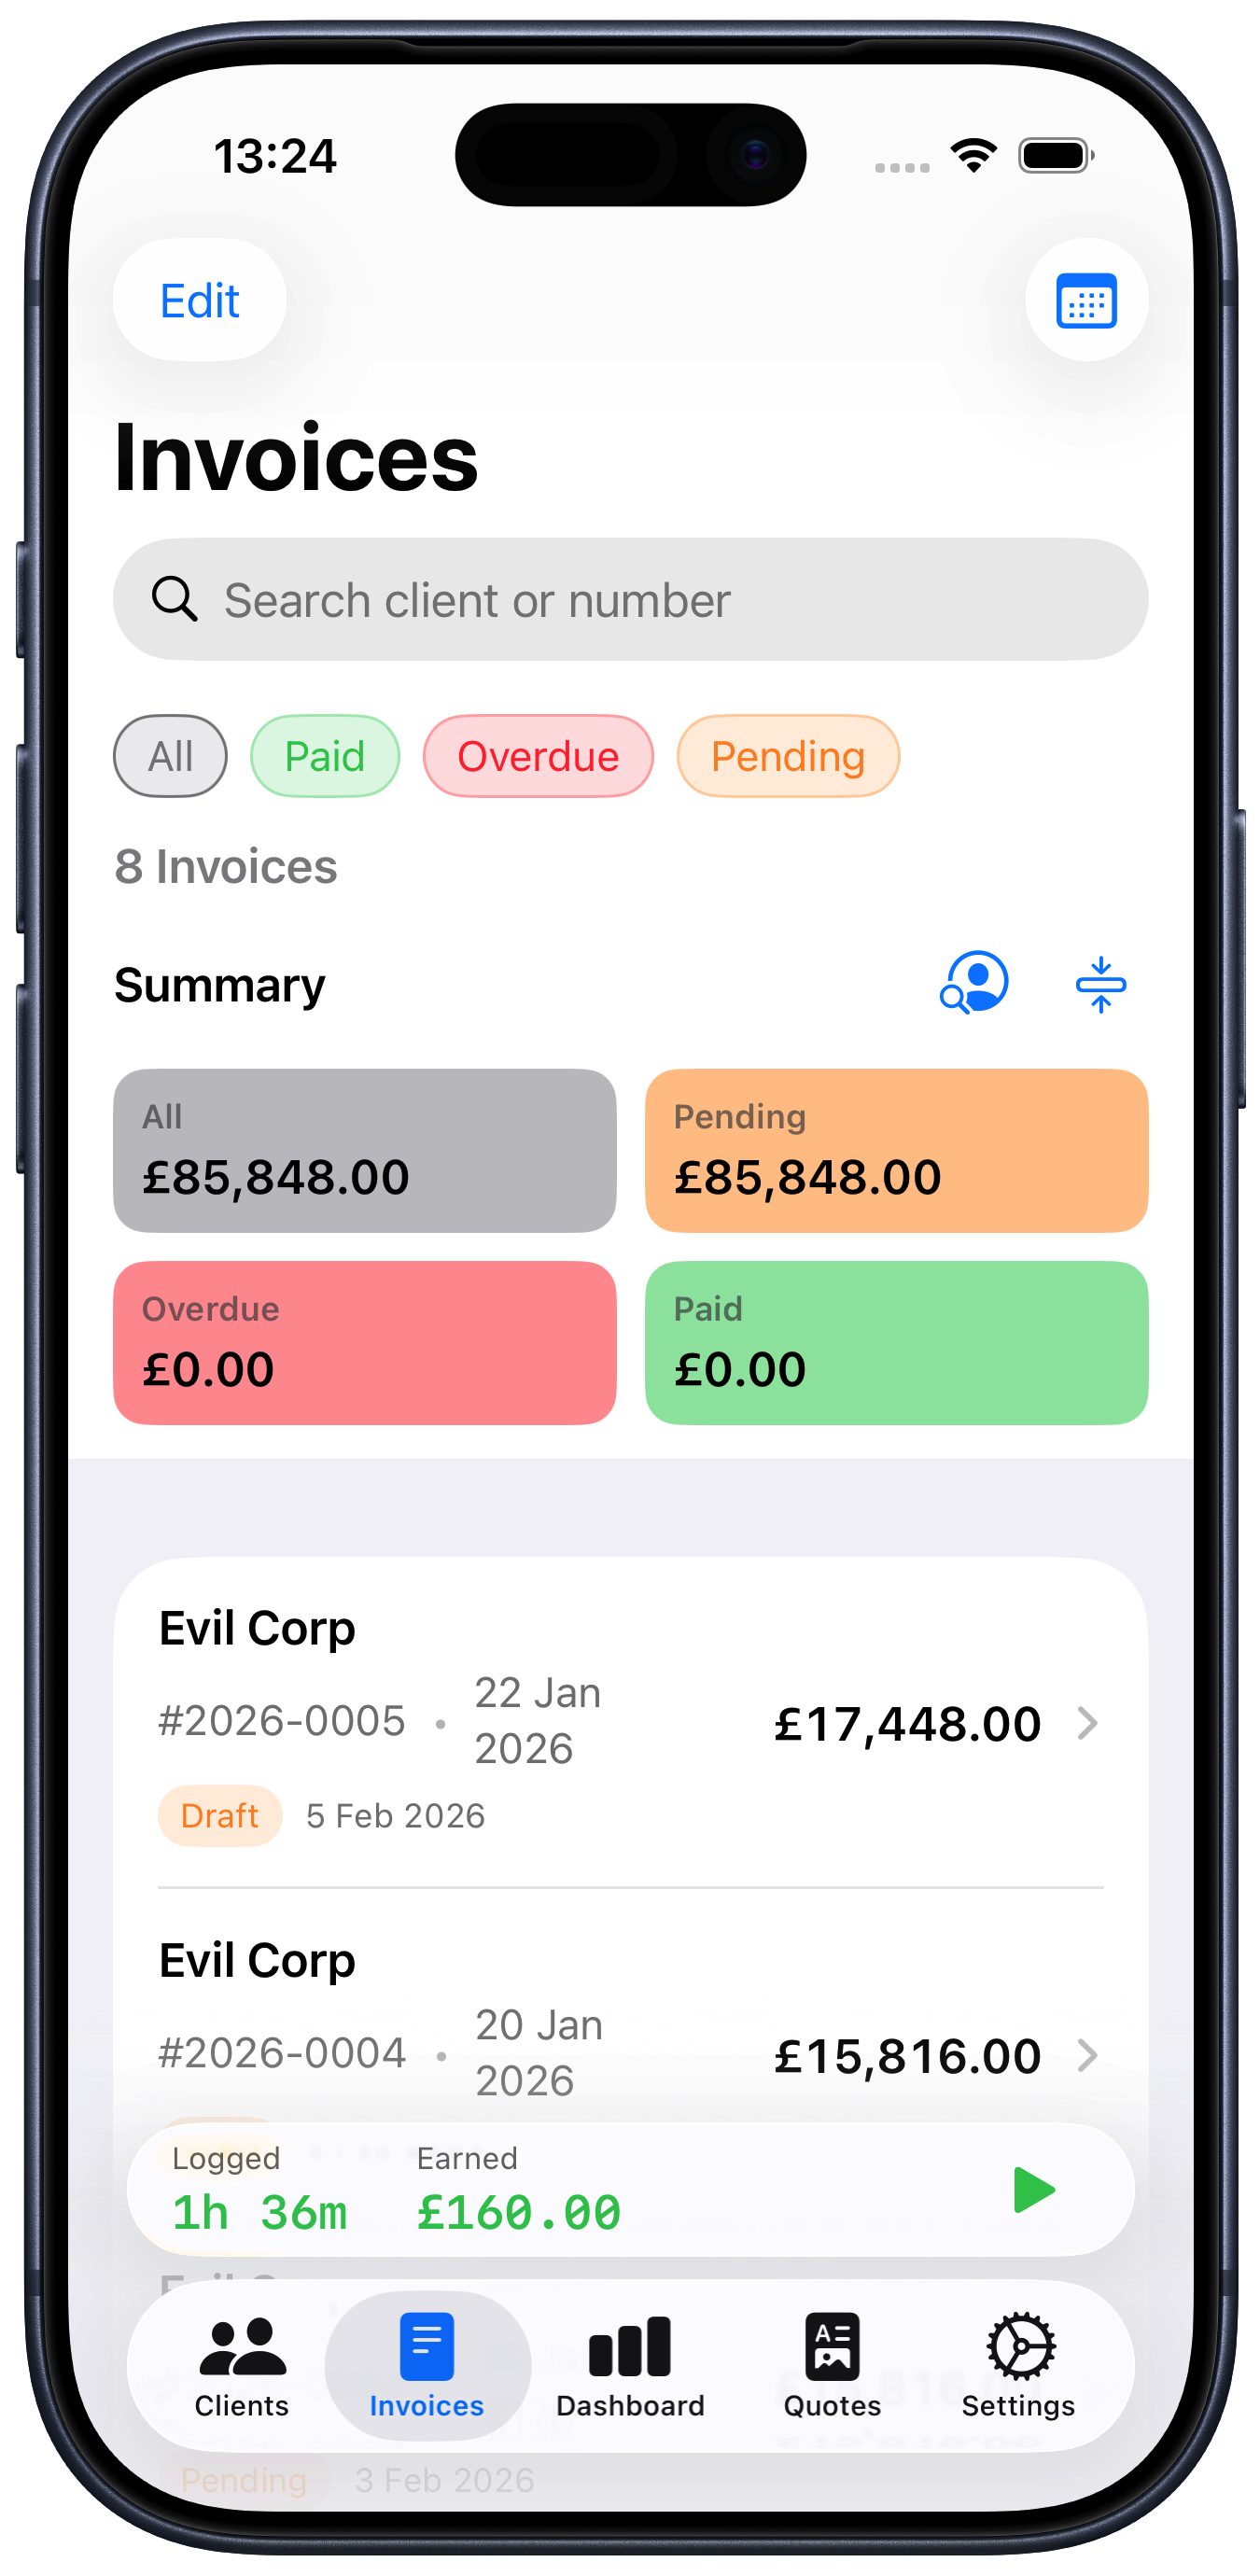
If you just tap the checkmark button at the top right, SoloTime will just save the invoice and you can view it later from the Invoice tab.