How to add a new client
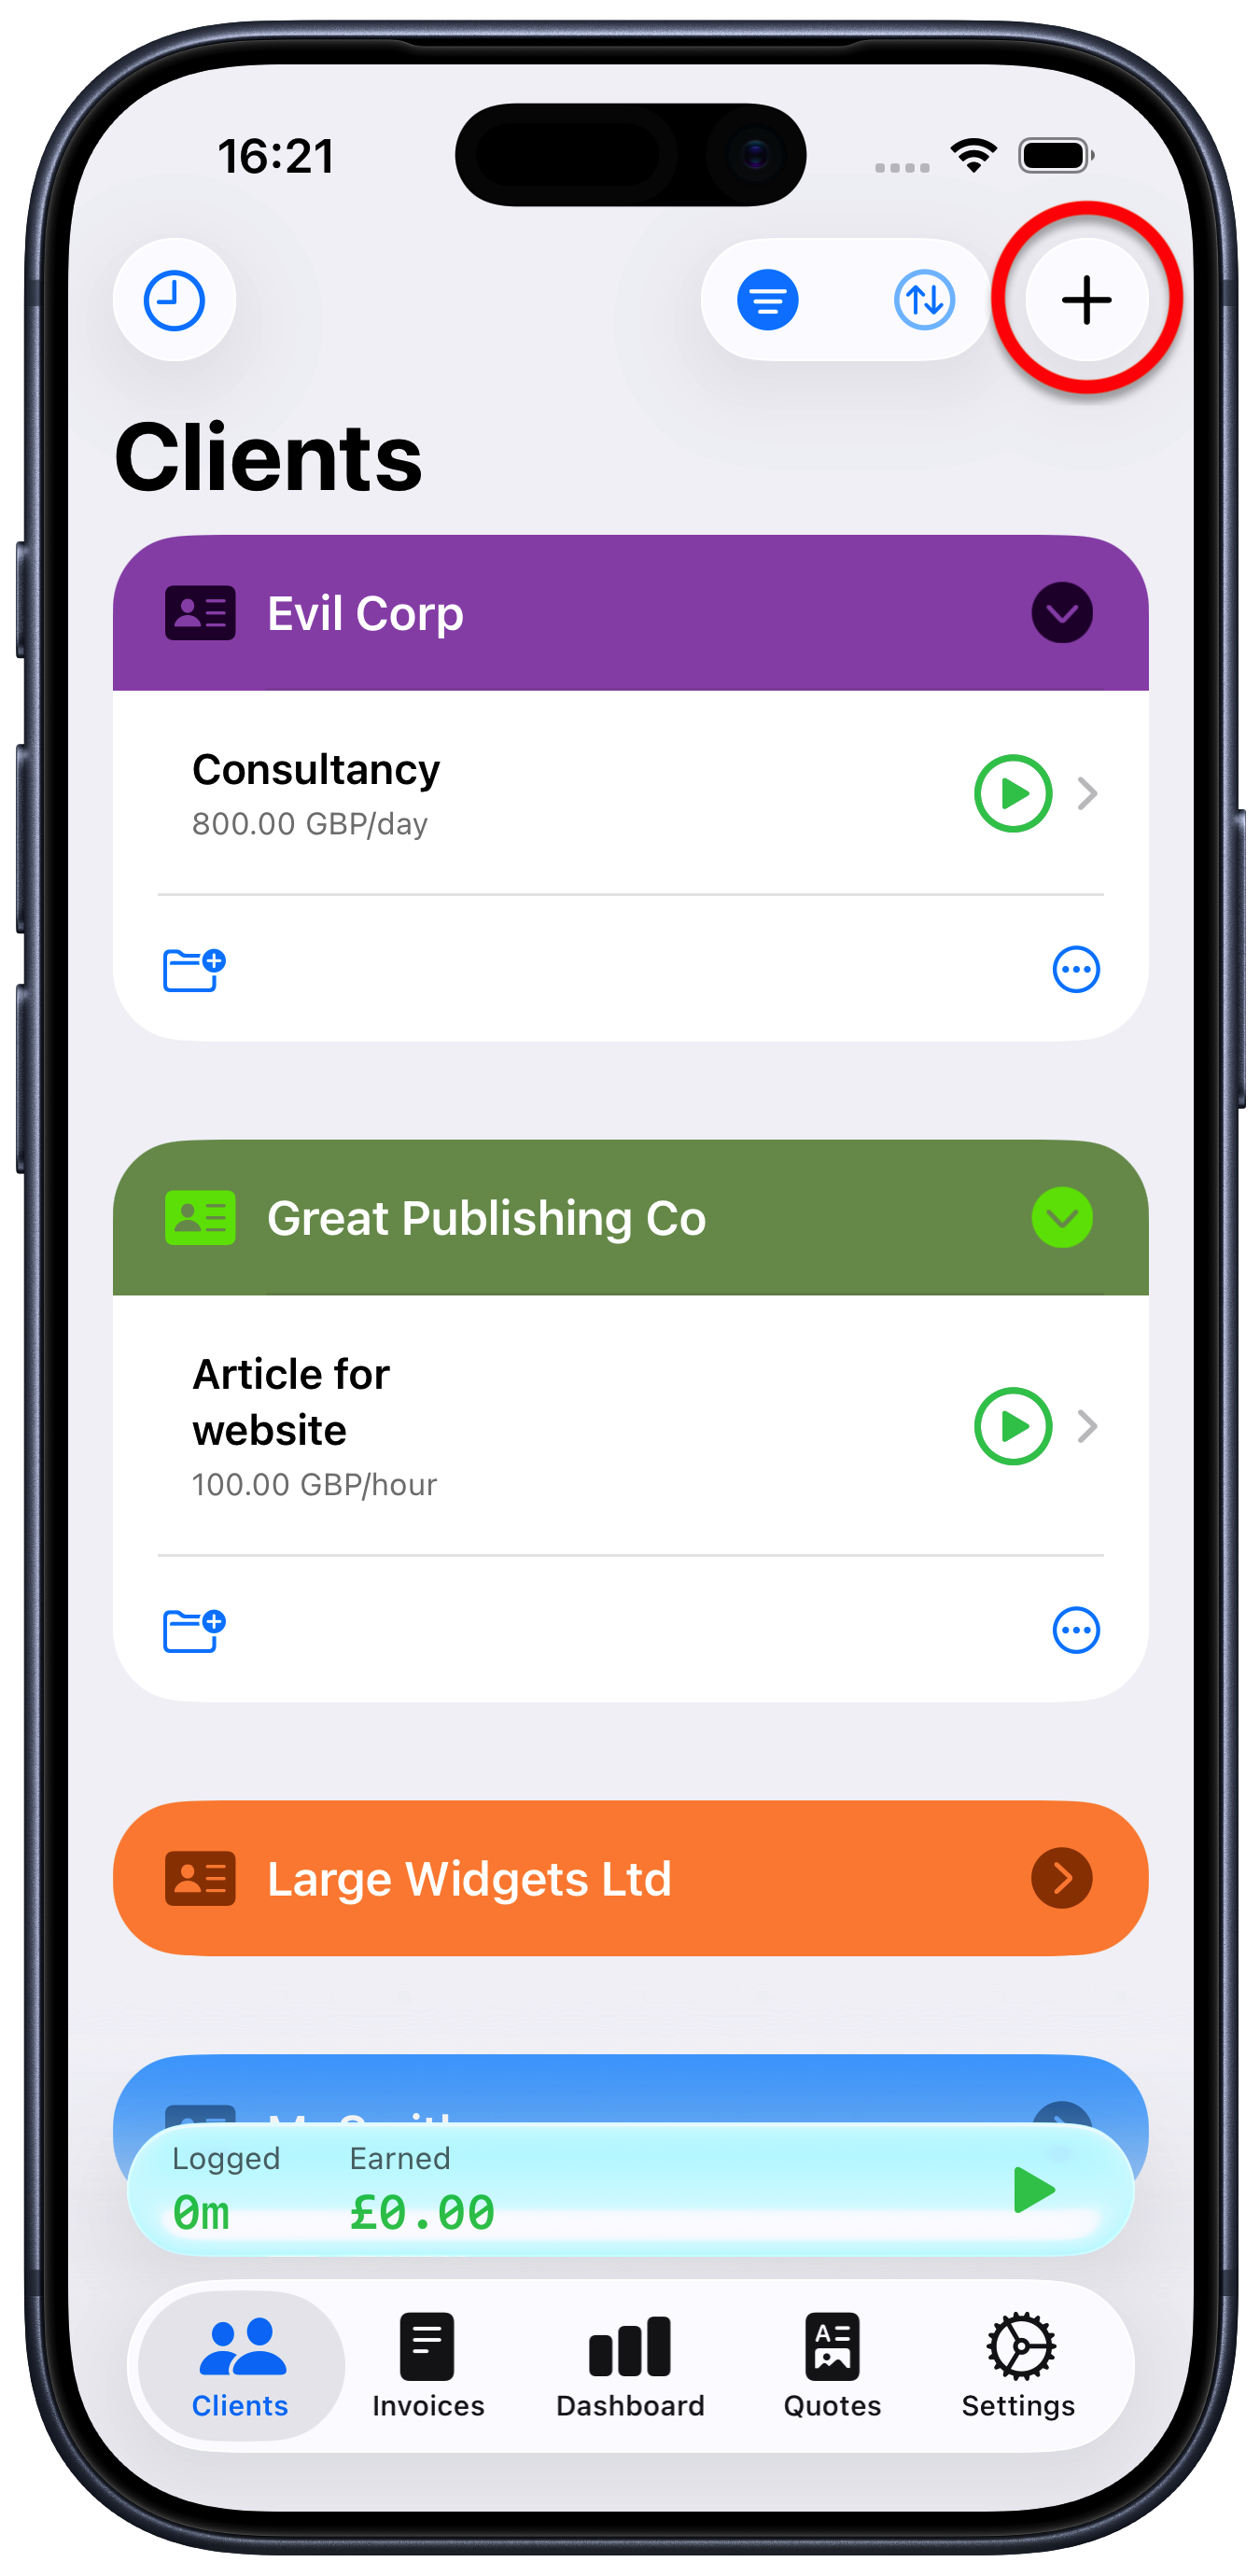
Tap the “+” button at the top right of the Clients tab
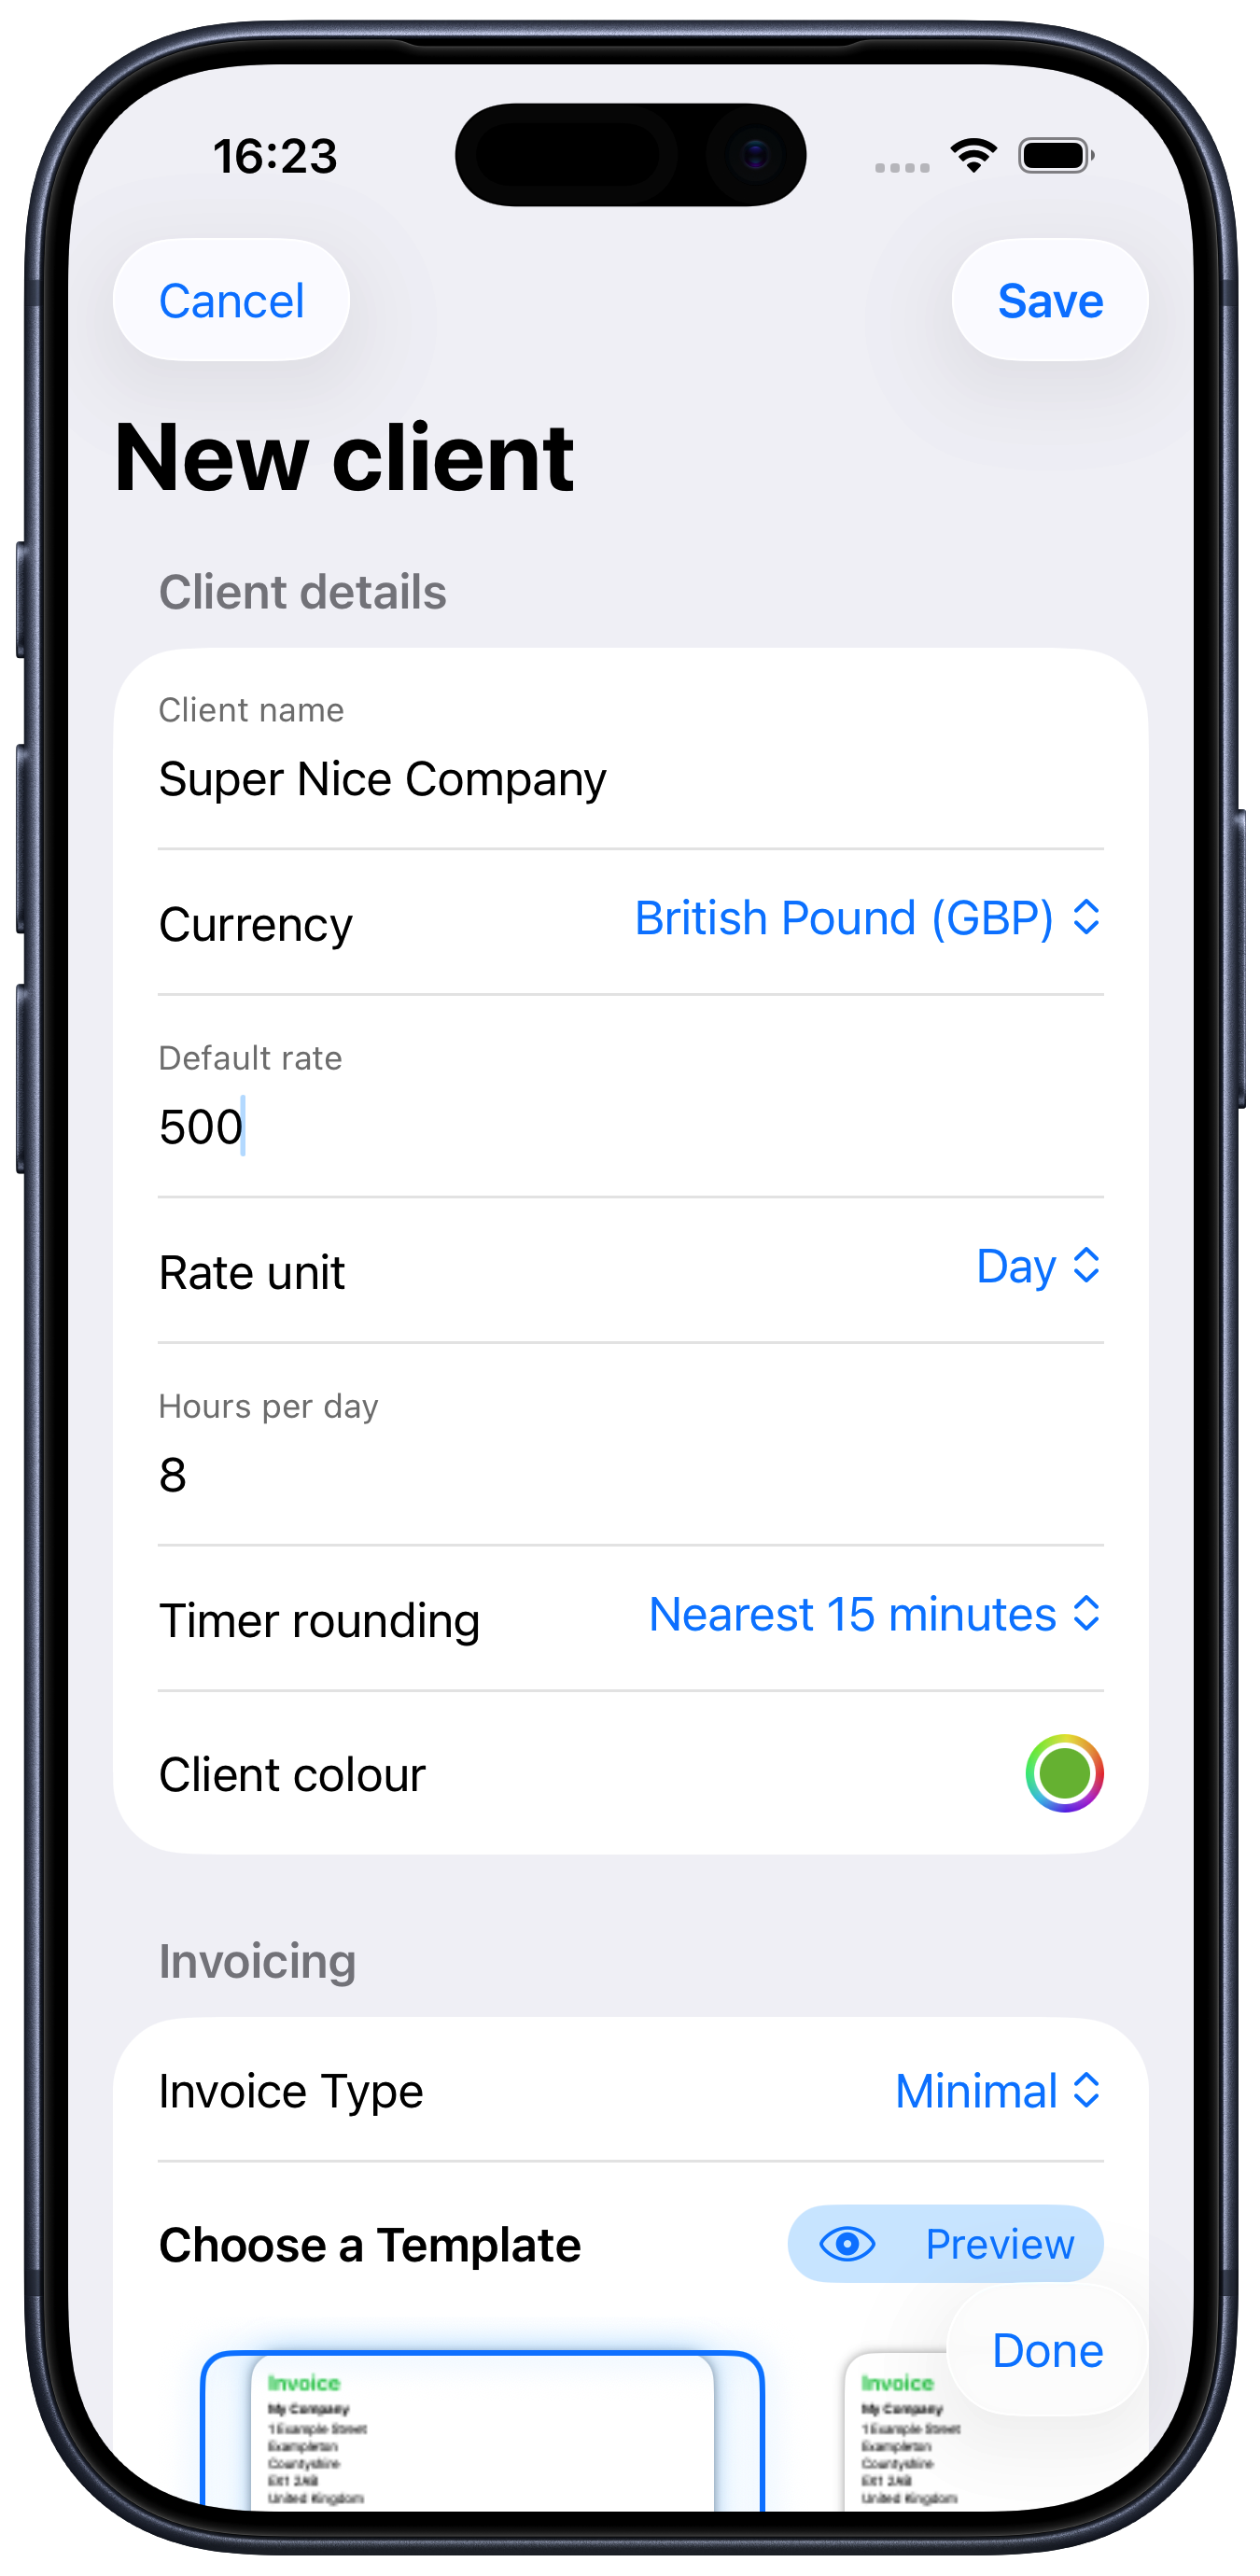
Enter the name of the client
Enter the default rate that you want to charge this client
Choose the rate unit - hours or days
At this stage you could just tap the “Save” button at the top right and your new client will be created. However, there are other client settings you may want to take a look at:
Hours per day: this defaults to 8 hours but you can change this to whatever you want. SoloTime uses this when calculating daily earnings. For example, if you set hours to 7.5, then every time you log 7.5 hours, that will count as 1 day.
Timer rounding: this is only applied when you use timers. For example, if you choose 15 minutes and your timer runs for 4 hours 20 minutes, your billable time will be rounded to 4 hours 15 minutes.
Client colour: changes the colour used on the clients tab to make it easy to differentiate between several clients.
Invoice Type: you can choose from one of the pre-defined templates here. The thumbnail view will highlight the one you have selected. Tap the “Preview” button to see a bigger version on screen. You can also choose a colour for the highlights in the invoice.
If you choose “Custom Layout” then tap the “Preview” button, you will be presented with a preview along with a list of settings that allow you to customise the invoice, such as changing the font type, header shapes and colours etc.
Invoice Numbering: if you tap this you will be presented with a screen to allow you to change the default numbering that is used on invoices. The default is the year plus a sequence number. For example, if this was your second invoice of 2026, it would be “2026-0002”. You can change the numbering format here to whatever you want. When you’re happy just tap “Save”. That style will be used for that client going forward.
Payment terms: This defaults to whatever you have set for your company (in Settings > Your company) and will be shown on the invoice and will also be used to calculate the due date shown on reports. You can select from once of the presets or type in your own number of days.
Address: this is used on invoices as part of the “Invoice To:” section. You can either fill in the address manually here, or start typing an address in the “Address search” box and the app will attempt to fill it in for you. SoloTime will also show an address preview
Contact email: this is primarily used on invoices as part of the “Invoice To:” section. It is also used to populate the destination email address if you use Solotime to send the invoice to your client.
Contact phone: enter the clients telephone number, just so you have it easily to hand if you need to get in touch, for example, to chase payment.
Invoice email: by default, the contact email address is used on invoices, but you can change that by toggling the “Use contact email for invoices” switch and typing in a different email address here.
The other fields on this form are not used anywhere else in the app and are just for your records, in case you want to refer to them in the future.
Note that you can also edit a client at any time by just choosing “Edit client” from the ellipsis “…” menu.